Getting started with Canvas in HTML5
JournalThe Canvas in HTML5 is a powerful tool to create interactive displays, graphics, and much more. Here is an example of how to get started building using Canvas in HTML5, with a simple particles tutorial. This covers a basic animation loop, drawing to the canvas, and responding to user interactions.
The Canvas in HTML5 is a powerful tool to create interactive displays, graphics, and much more.
Here is an example of how to get started building using Canvas in HTML5, with a simple particles tutorial. This covers a basic animation loop, drawing to the canvas, and responding to user interactions.
To get around the very basics of interacting with canvas, we are going to write some JavaScript to add “particles” to the canvas, following the position of the user’s finger, mouse or pointer.
First we need some simple “skeleton” markup for our CSS, HTML & JavaScript.
<!DOCTYPE html>
<html>
  <head>
    <title>Particles</title>
    <style>
      html,
      body {
        background: #2c2e6f;
        margin: 0;
        overflow: hidden;
        padding: 0;
      }
    </style>
  </head>
  <body>
    <canvas id="particles"></canvas>
    <script type="text/javascript">
      var Particles = (function (document, window) {
        function init() {
          // runtime code
        }

        return {
          init: init
        }
      })(document, window)
      Particles.init()
    </script>
  </body>
</html>
The CSS above takes care of setting the background color of the page to purple, and removing any margin or padding around the canvas. The JavaScript sets up a simple skeleton framework for our Particles code.
From here, we need to set a few global variables referencing the canvas itself, that will be required throughout the code to follow.
var c = document.getElementById('particles')
var ctx = c.getContext('2d'),
  fps = 24
c selects the canvas from the DOM, while ctx creates access to it’s 2d context. fps (frames per second) is the amount of times we would like to update the canvas per second.
We also need two more variables, pointer and particles:
;(pointer = {
  x: window.innerWidth / 2,
  y: window.innerHeight / 2
}),
  (particles = [])
object: pointer To set the x and y co-ordinates of the user’s mouse during runtime. For now, let’s set the values to the center of the display.
array: particles A list of particles in our system, to be drawn to the canvas on each frame.
With the addition of these two variables, we have all the building blocks to move on and start writing the code to interact with the canvas.
To begin interacting with the canvas and our user, we need two helper functions, setCanvasSize and setPointerPosition.
function setCanvasSize() {
  c.height = window.innerHeight
  c.width = window.innerWidth
}

function setPointerPosition() {
  pointer.x = event.changedTouches
    ? event.changedTouches[0].pageX
    : event.clientX
  pointer.y = event.changedTouches
    ? event.changedTouches[0].pageY
    : event.clientY
}
For our particles system to display full-screen, we will need to set the size of our canvas with setCanvasSize on runtime, but also attach the function to the window orientationchange and resize events. By doing this, we can update the height and width of our canvas with the new size of the screen at the moments those events are fired.
To keep track of the user’s pointer, we can use setPointerPostion to update our pointer position whenever the mousemove or touch events are fired.
Let’s add some event listeners for setCanvasSize and setPointerPostion in our init() function.
function init() {
  // runtime code
  c.addEventListener('touchstart', setPointerPosition)
  c.addEventListener('touchmove', setPointerPosition)
  c.addEventListener('mousemove', setPointerPosition)
  window.addEventListener('orientationchange', setCanvasSize)
  window.addEventListener('resize', setCanvasSize)
  setCanvasSize()
}
Okay, our canvas size is now fixed to that of the user’s screen, and will update automatically on resize or orientation change. Access to the pointers position at any moment is also available through our pointer object.
From here, we need to setup an animation loop for our canvas, based on the previous fps variable displayed. We can use this to draw our particle’s to the canvas.
function Draw() {
  // clear the canvas
  ctx.clearRect(0, 0, window.innerWidth, window.innerHeight)
  // canvas visuals here

  // request next animation frame
  window.setTimeout(requestFrame, 1000 / fps)
}

function requestFrame() {
  window.requestAnimationFrame(Draw)
}
We start the loop by running the requestFrame function, requesting the browser to run function Draw before the next repaint of the window.
Within the Draw function, we call window.setTimeout to run requestFrame again based on the number of times per second this loop should run.
Each time Draw is called in our animation loop, we can draw our particles in various positions on the canvas. For now, in the code above, we are just clearing the canvas with the clearRect method in each frame.
To get the loop started on runtime, as with our event listeners before, we need to call requestFrame() from within our init() function.
function init() {
  // runtime code
  c.addEventListener('touchstart', setPointerPosition)
  c.addEventListener('touchmove', setPointerPosition)
  c.addEventListener('mousemove', setPointerPosition)
  window.addEventListener('orientationchange', setCanvasSize)
  window.addEventListener('resize', setCanvasSize)
  setCanvasSize()
  requestFrame()
}
We’re now ready to work on drawing particles to our canvas in each frame of our animation loop. For now on screen we still just have the following:

Each particle has various attributes that we will need to store — it’s color, position, size & speed. These values can be changed on each animation frame to move the particle around our canvas.
To make things simple and reusable, let’s build a Particle object. Then, on each animation frame, we add one Particle.
function Particle() {
  this.color = '#3B8686'
  this.size = 26
  this.xSpeed = getRandomInt(-10, 10)
  this.ySpeed = getRandomInt(-10, 10)
  this.x = pointer.x - this.size / 2
  this.y = pointer.y - this.size / 2
}
// canvas visuals here
particles.push(new Particle())The x and y position of each particle are based on the pointer’s position at that moment, but for it’s speed, we need a helper function, getRandomInt, that will return a random number between -10 and 10.
function getRandomInt(min, max) {
  return Math.floor(Math.random() * (max - min + 1)) + min
}
Now that the particles array is being populated, it’s time to add a for loop, looping through the contents of particles and drawing each to the canvas.
for (var i = 0; i < particles.length; i++) {
var particle = particles[i]
ctx.beginPath()
ctx.arc(particle.x, particle.y, particle.size, 0, 2 * Math.PI, false)
ctx.fillStyle = particle.color
ctx.fill()
ctx.shadowBlur = 80
ctx.shadowColor = particle.color
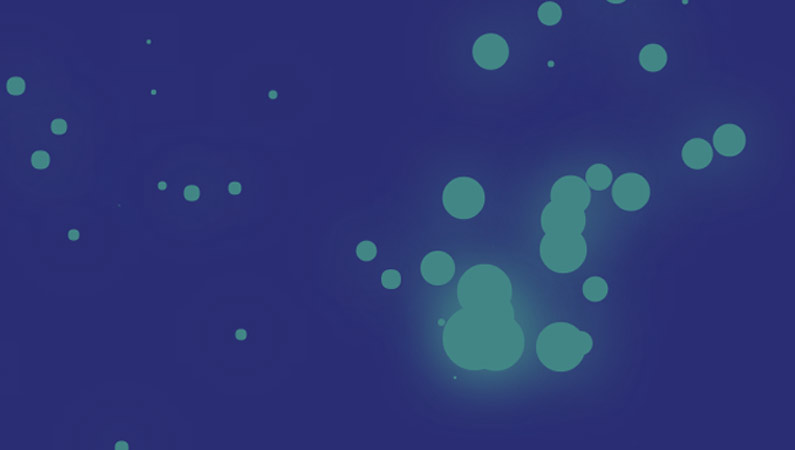
}Drawing a new shape, or particle, on to the canvas can be done with various methods. Above we make use of the 2d context’s beginPath, arc and fill.
That’s a nice start, but it would be better if our particles were moving.
Making use of the particle’s speed attributes we set earlier, it’s easy to update their position within our for loop, with a random number added or subtracted to each direction.
particle.x = particle.x + particle.xSpeed
particle.y = particle.y + particle.ySpeed
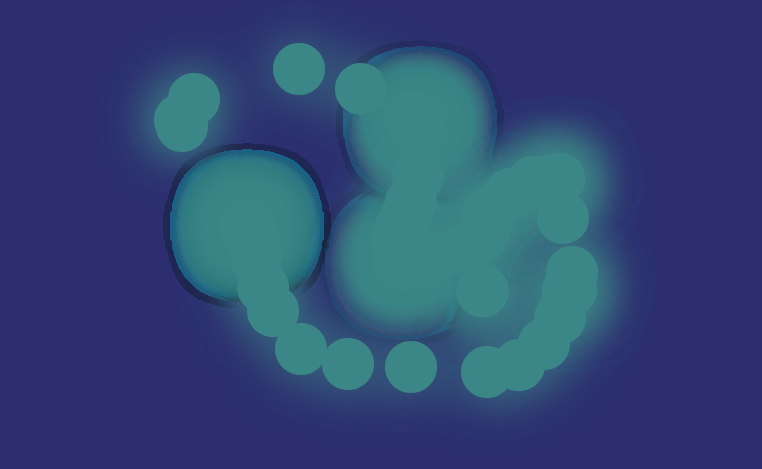
particle.size = particle.size * 0.95We can also reduce it’s size by 5% in each new frame, so each particle gradually fades to nothing.
From here, our basic particle system is pretty much complete.
The last step for this example is to do some monitoring of our particles in their draw loop.
if (
  particle.x < -particle.size ||
  particle.x > window.innerWidth + particle.size ||
  particle.y < -particle.size ||
  particle.y > window.innerHeight + particle.size
) {
  particles.splice(particles.indexOf(particles[i]), 1)
} else {
  ctx.beginPath()
}
If their position is outside of the canvas, let’s remove them from our array instead of drawing them. They are no longer visible, so we should clean up our array. Without doing this, the array’s size will become infinitely larger and no doubt create issues in the browser’s performance.
Demo
I hope this basic example of using Canvas in HTML5 was useful if you’ve never introduced yourself to it before.
Further reading
If your interested in where to look next for inspiration, check out the following HTML5 Canvas libraries.